
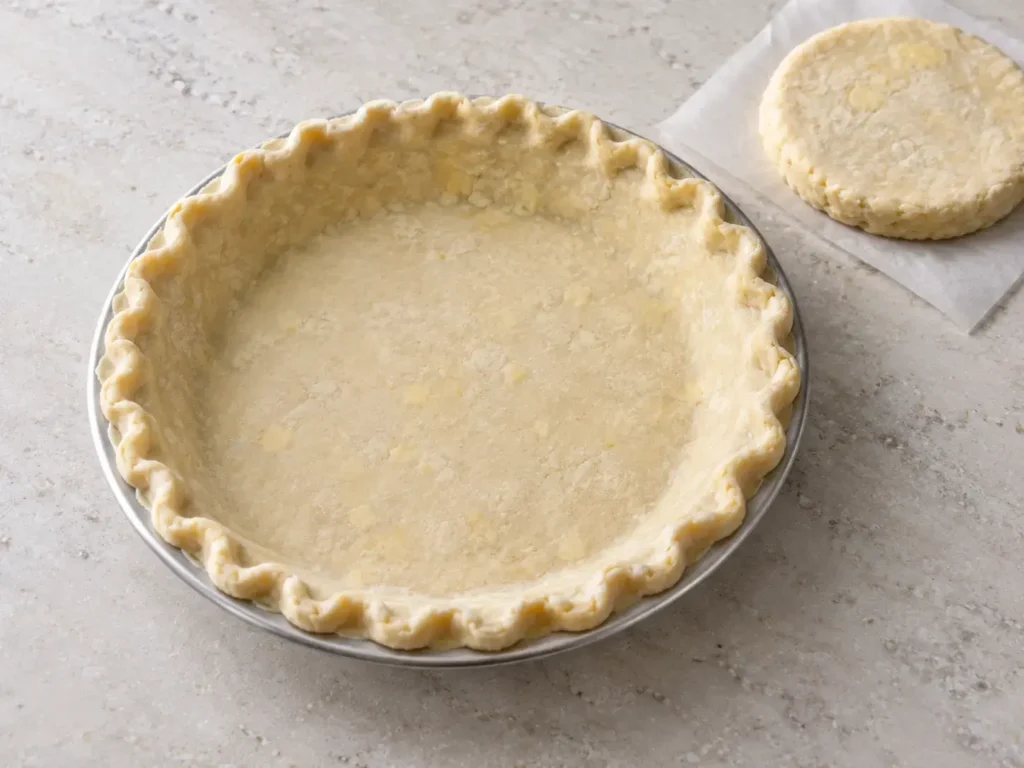
This all butter pie crust uses grated frozen butter to make pastry by hand with a box grater and a rolling pin. The dough is unsweetened, so it can sit beneath fruit, custard, or a savory filling. One batch makes two standard 9-inch single crusts, or the top and bottom of one 9-inch pie.
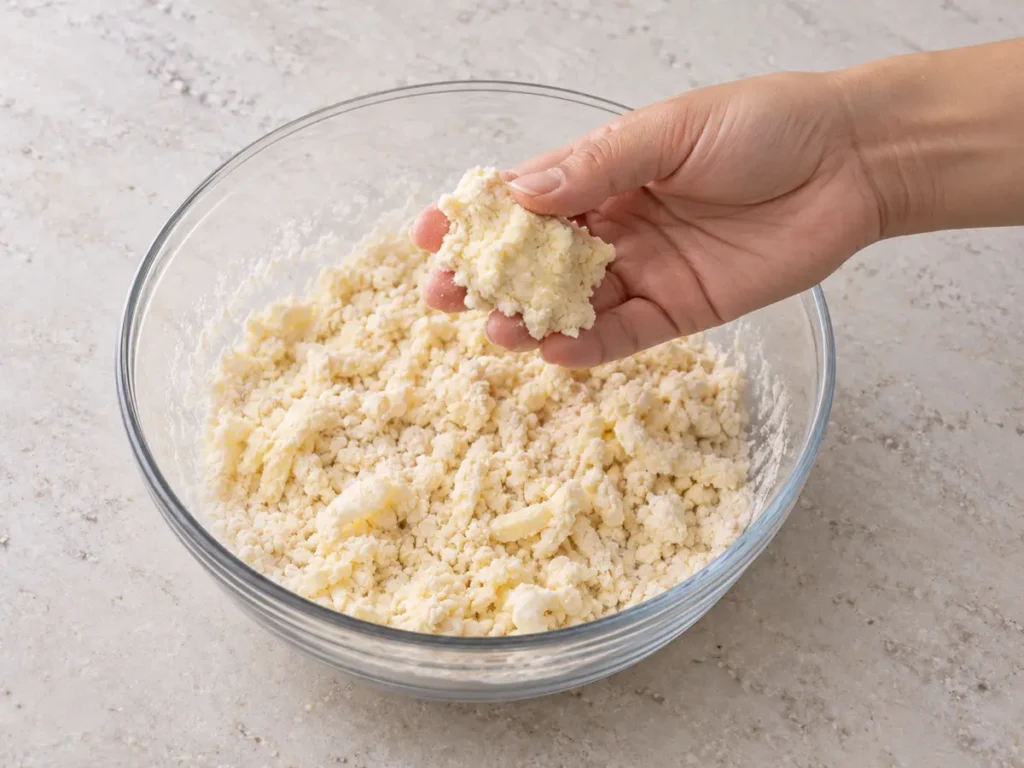
The most useful checkpoint happens before the dough reaches the refrigerator: a small handful should hold together when squeezed. Start with the smaller amount of water in the recipe, then let that texture guide you. Plan for the chilling time, too. The recipe below prepares unbaked pastry; your chosen filling determines how it is baked.
What grated butter changes
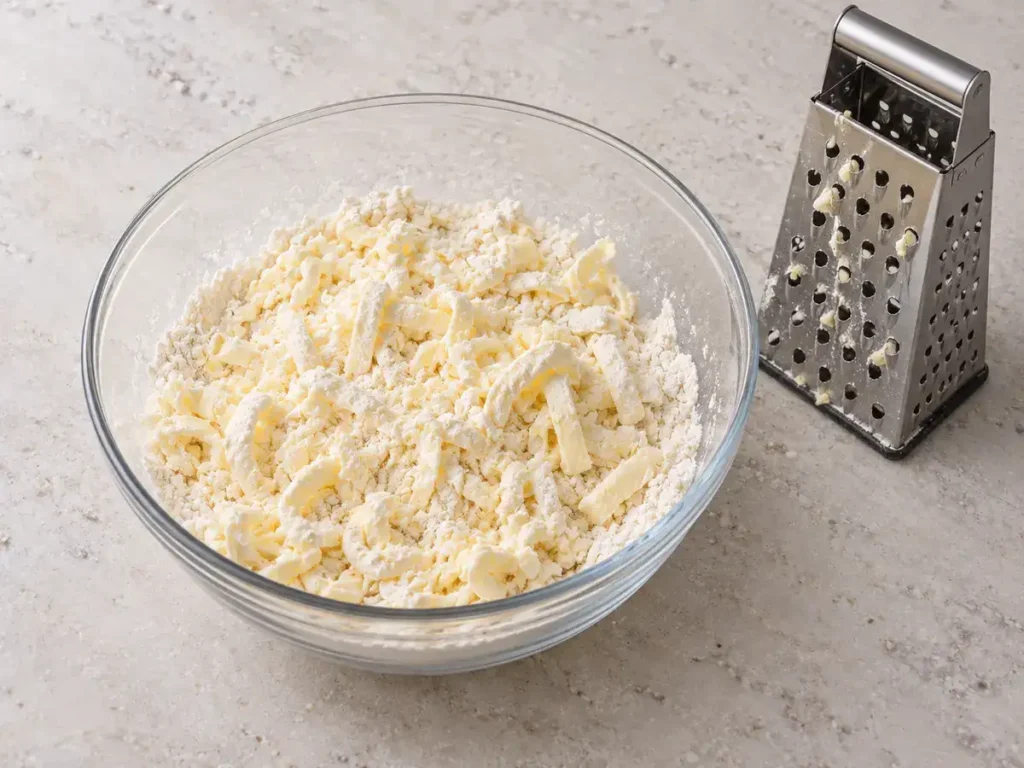
The large holes of a box grater turn firm butter into shreds that are easy to distribute through flour. Tossing as you grate keeps those shreds from clumping together. The mixture should retain visible pieces of butter rather than become a paste.
Warm butter smears, while cold pieces remain distinct as the dough is handled. If you notice a greasy surface or butter coating your fingers, pause and refrigerate the mixture. A short pause is easier to manage than dough that sticks to everything.
Ingredient choices that matter
All-purpose flour gives this pastry its structure. Spoon it into the measuring cup and level it, or use the weight in the recipe. Packing the cup can change how much water the dough needs.
Unsalted butter and fine table salt make the seasoning controllable. The salted-butter adjustment is in the recipe notes. Coarse kosher salt varies by brand and should not be swapped spoon for spoon here.
Need a dairy-free option? Follow the separate vegan lemon curd tart recipe; this all-butter pastry is not vegan.
Ice water brings the dough together while keeping it cold. Measure the liquid without ice cubes. The range in the recipe is a starting point and an upper allowance, not an instruction to pour in all the water.
Read the dough before adding more water
A bowl of loose crumbs does not tell the whole story. Gently squeeze a small portion. When it keeps its shape, it is ready to gather. If it collapses into dry crumbs, add a little more water to the mixture. If it leaves a wet film on your hand, stop adding water.
This is why a single fixed spoon count can be misleading. King Arthur Baking’s all-butter pastry guidance uses a water range and a squeeze test. For this dough, the aim is a cohesive mass with visible butter, rather than a kneaded, springy ball.
Chilling and rolling without fighting the pastry
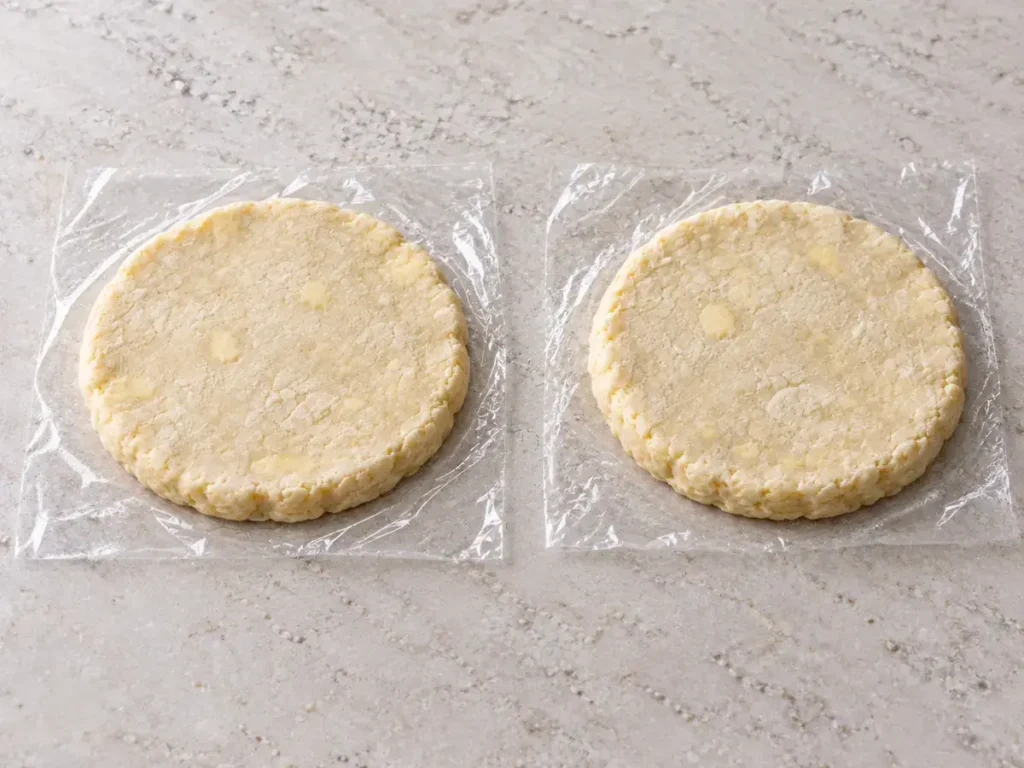
Flat disks are easier to roll evenly than a round ball. Wrap them so the edges cannot dry out. After chilling, the dough should feel cool and firm, but it needs to bend enough to roll. A disk that cracks immediately may simply be too cold.
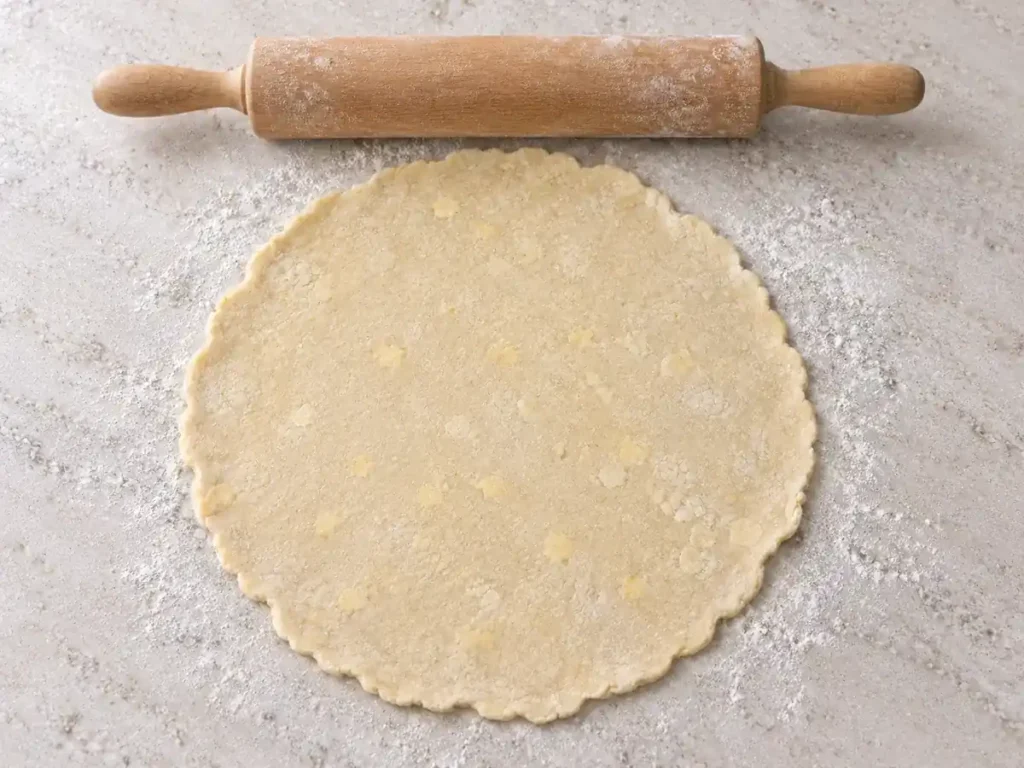
Keep the second disk refrigerated while you work on the first. Turn the dough as you roll so you can catch sticking early, and use only enough extra flour to release it from the counter. Ease the sheet into the pie plate rather than pulling it to reach the rim.
Common pie dough problems
Dry pieces will not join: check the squeeze test before chilling. Work a small addition of water into the dry areas rather than repeatedly kneading the entire batch.
The chilled disk splits at the edge: let it become slightly more pliable before forcing the rolling pin through it. Patch a small crack by gently pressing the edges together.
The dough feels sticky or looks greasy: chill it before adding more flour. Temperature and excess water are different problems; extra flour will not restore butter that has softened.
The shell pulls down in the pan: avoid stretching when fitting it, retain enough dough at the rim, and chill the shaped shell. For an empty shell, pie weights support the base and sides while the dough sets.
Match the crust to the filling
There is no single baking time for every use of homemade pie dough. A fruit pie that bakes with its filling follows a different route from a cream pie assembled in an already baked shell.
Bake with the filling: follow the complete pie recipe. Partially bake: give the empty shell a head start when the filling recipe requests it. Fully bake: finish the shell before adding a no-bake filling. The optional directions in the recipe notes cover the last two routes.
For additional photographs of the distinction, see Sally’s guide to partially and fully baking a pie shell.
If you prefer a crumb crust, the separate ricotta banana blueberry pie uses a graham-cracker base. It is a different crust method, not a direct swap for this pastry.
Grated Butter vs. Cubed Butter
Both methods can make a flaky homemade pastry, but they behave differently in the bowl. Grated butter pie dough spreads small, cold pieces through the flour quickly, which helps a hand-mixed dough come together without extended rubbing. Cubed butter gives you larger pieces to flatten or cut in, so it can be a better fit when you want more control over the size of the butter pockets.
Choose grated butter when your kitchen is warm or you want a fast, even distribution of butter. Choose cubes when you prefer a pastry cutter or food processor and can keep the pieces firm. In either case, the goal is the same: visible butter, minimal handling, and enough chilling for a tender homemade pastry.
All Butter Pie Crust with Grated Butter
Equipment
- Box grater large holes
- Rolling Pin for rolling the chilled dough
- 9-inch pie plate standard depth; metal recommended for the optional blind-baking directions
- Parchment paper and pie weights only if blind baking
- Plastic wrap for chilling the dough disks
Ingredients
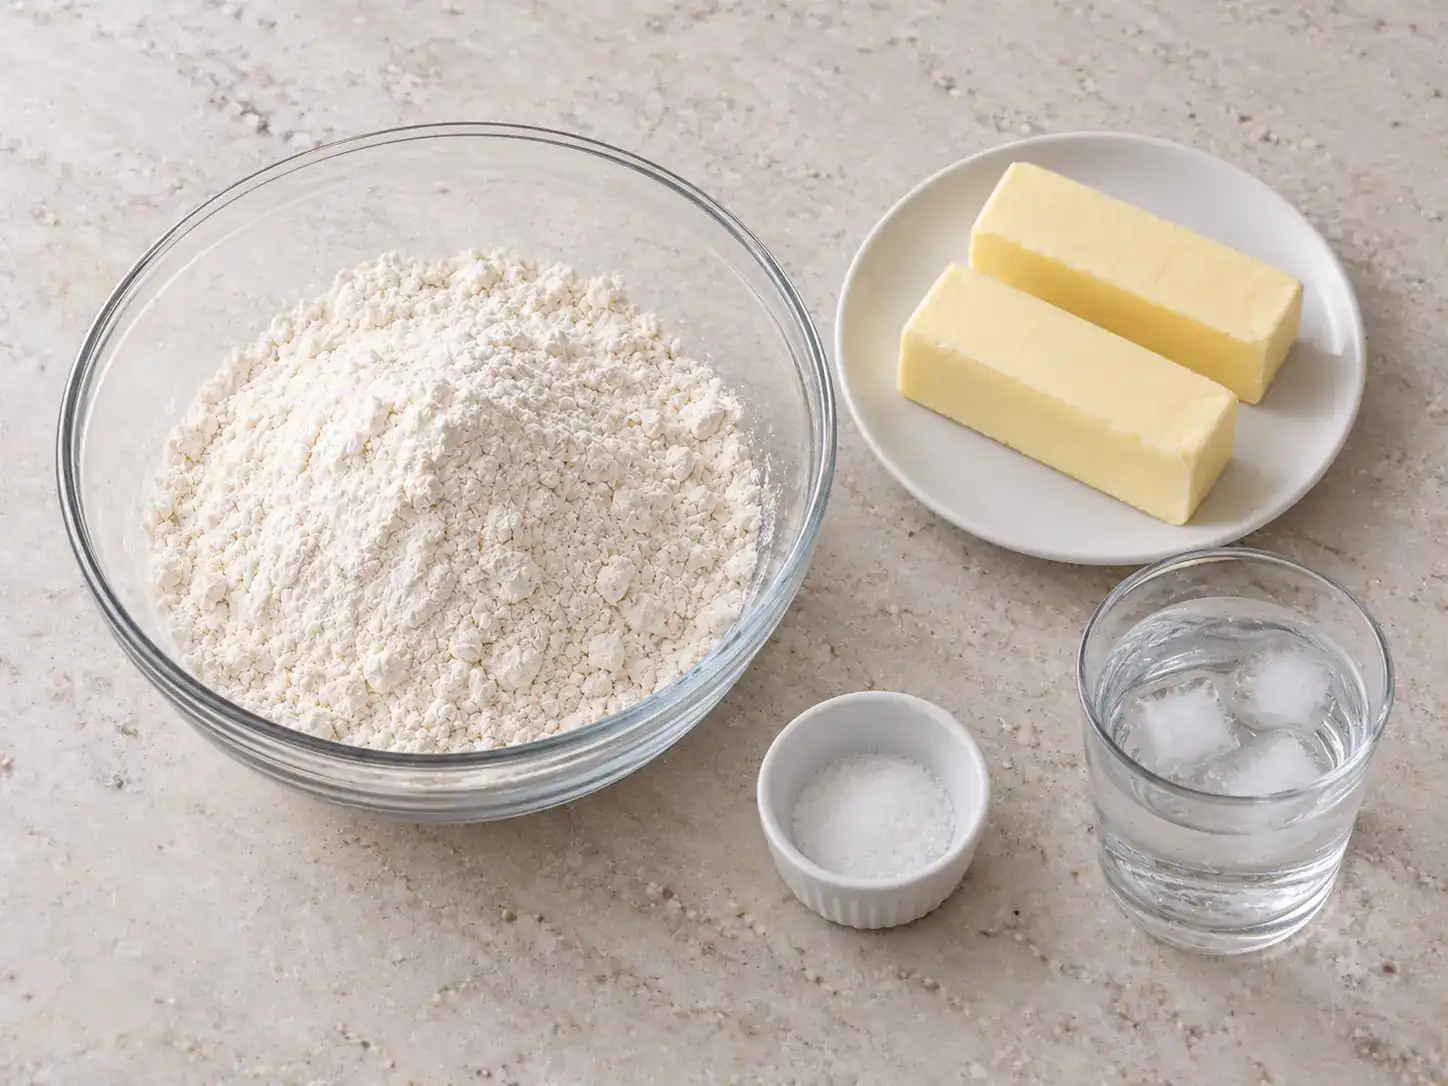
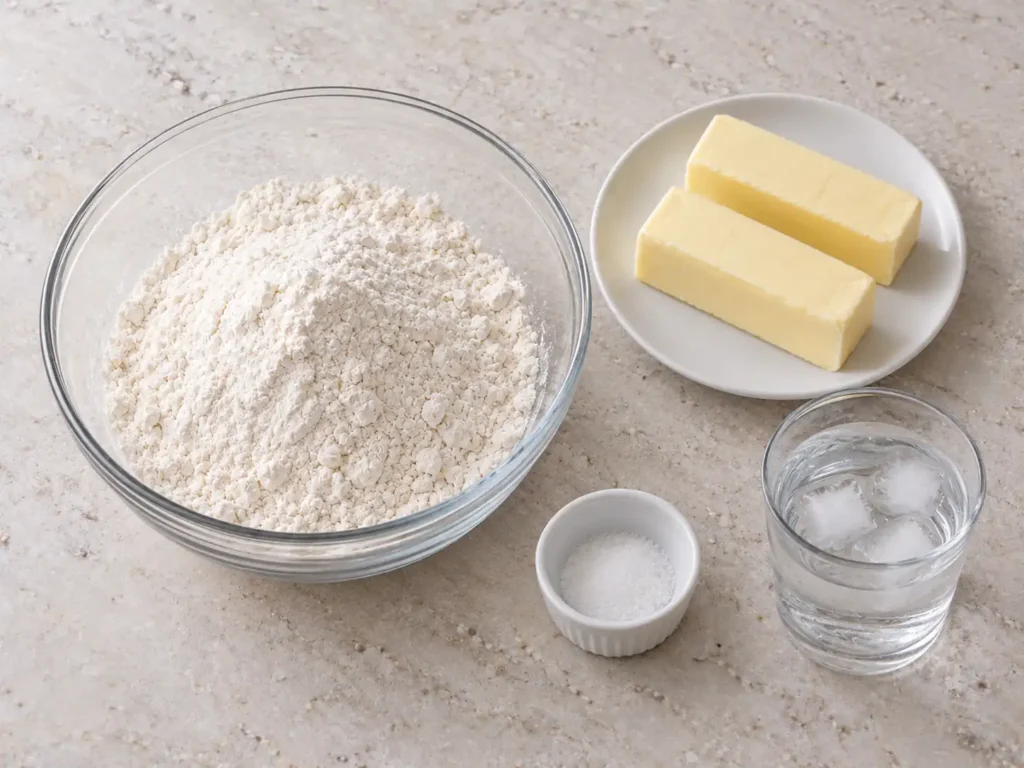
- 2 1/2 cups all-purpose flour 300 g; spooned and leveled, plus a little extra for rolling
- 1 teaspoon table salt use fine table salt, not coarse kosher salt
- 1 cup unsalted butter 2 sticks (227 g), very cold
- 6–12 tablespoons ice water measure without the ice; begin with 6 tablespoons and add only as needed
Instructions
- Put the cold butter in the freezer for about 30 minutes, or until firm enough to grate cleanly. It should make distinct shreds rather than smear against the grater. Have ice water ready and measure the water without adding ice cubes to the dough.1 cup unsalted butter, 6–12 tablespoons ice water

- Stir the flour and salt together. Grate the firm butter through the large holes of a box grater into the flour, pausing to toss the shreds with flour. Keep the shreds separate and cold; do not rub the mixture into a smooth paste.2 1/2 cups all-purpose flour, 1 teaspoon table salt, 1 cup unsalted butter
- Drizzle 6 tablespoons of ice water over the mixture and toss gently with a fork. Squeeze a small handful. If it falls apart or contains dry flour pockets, add another tablespoon of water and toss again. Repeat only until a squeezed portion holds together without crumbling. The full 12 tablespoons may not be needed. Stop before the dough becomes wet or sticky.6–12 tablespoons ice water
- Gather the dough with gentle pressure, without kneading. Divide it equally and flatten into two disks. Wrap each disk tightly and refrigerate for at least 2 hours. Visible small butter flecks are expected.
- Work with one disk while the other stays chilled. If the disk is too hard to roll without cracking, let it stand for 10–15 minutes, just until workable. On a lightly floured surface, roll from the center outward, turning the dough regularly, to a circle about 12 inches across and about 1/8 inch thick. If it becomes soft or greasy, refrigerate it before continuing.2 1/2 cups all-purpose flour
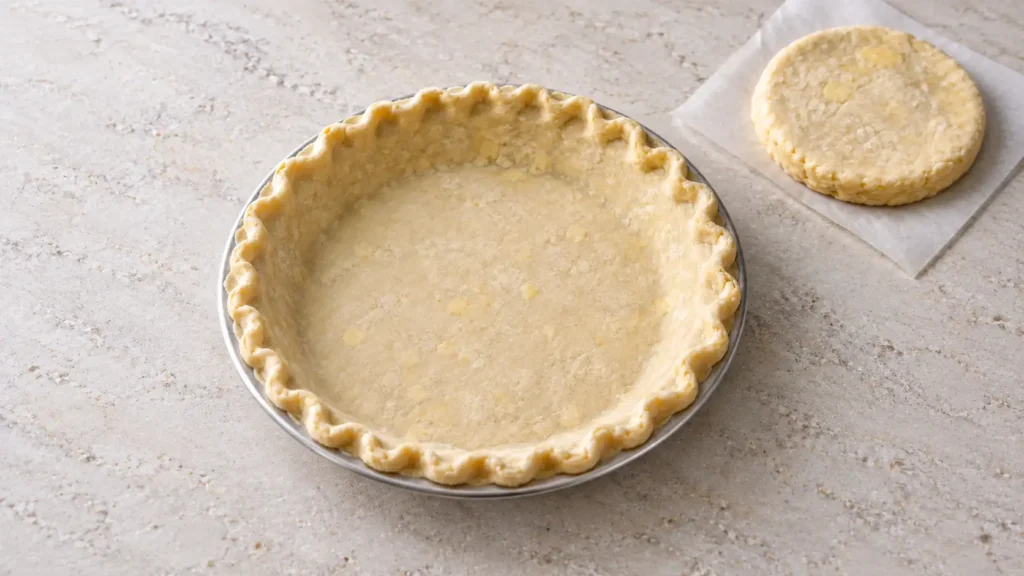
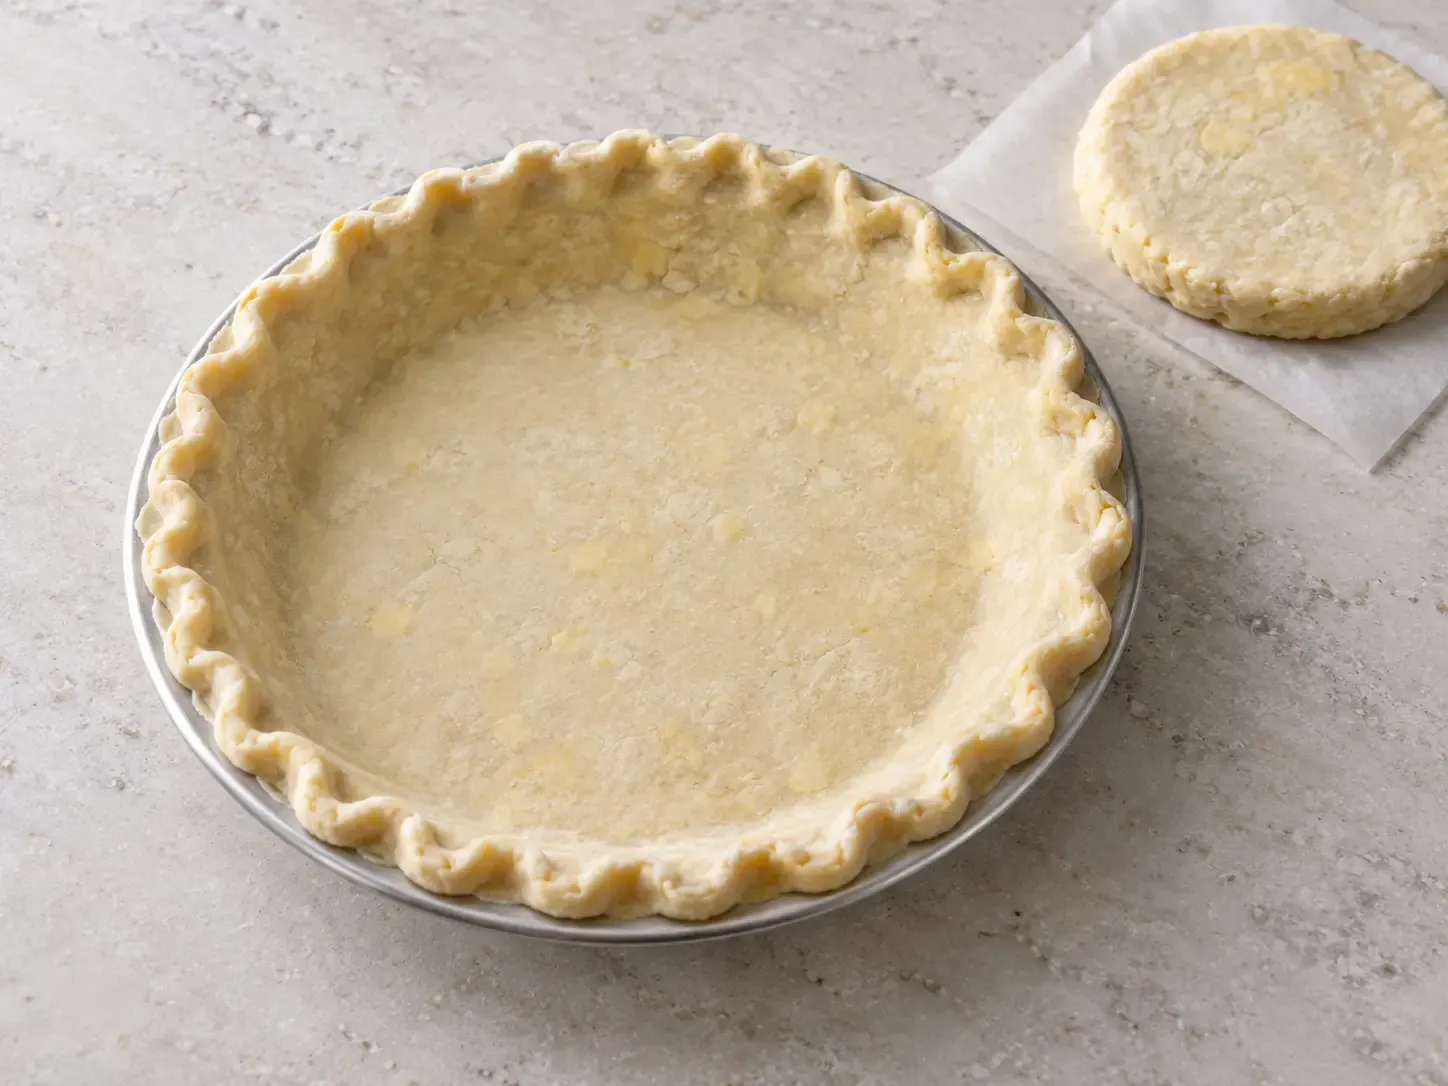
- Lift the dough into a standard 9-inch pie plate. Ease it into the base and corners without pulling or stretching. Leave about 1 inch of overhang. For a single crust, fold the overhang under and crimp; for a double-crust pie, leave it uncrimped until the filling and top crust are added. Refrigerate the shaped dough for at least 30 minutes. Prepare the second disk the same way if making two single-crust pies.

- The dough is now ready for your pie recipe and must be baked before eating. For a pie baked with its filling, follow that recipe’s temperature and time. For a filling that needs a partially or fully baked shell, use the blind-baking guidance in the notes. Keep the second disk wrapped and refrigerated if you are not using it immediately.
Notes
Nutrition
Make ahead and freeze
Wrap the unbaked disks well and refrigerate for up to 2 days, or freeze for up to 2 months. Date the package and thaw frozen dough overnight in the refrigerator. Let the chilled disk soften only enough to roll.
Once the crust becomes a filled pie, follow the filling recipe’s storage instructions. A baked fruit pie and a chilled cream pie do not have the same storage needs.
Questions before you bake
Does this make two pies?
It makes the pastry for two single-crust pies. A pie with both a bottom and a top uses the whole batch. The filling is separate.
Can I use a deep-dish pan?
The stated yield is for standard 9-inch pans. A deeper pan or a decorative top can use more dough; do not stretch a thin sheet to compensate.
Can I taste the raw dough?
No. Flour is a raw food, and the dough needs baking before it is eaten. The FDA explains safe handling of flour and raw dough.
For the food-safety background, see the FDA’s guidance on flour and raw dough.
Planning another baking project? Browse Desserts & Baking for more ideas.
The images are AI-generated illustrations, not photographs from a recipe test.