Ever wondered why store-bought protein bars cost so much when they’re filled with ingredients you can’t even pronounce? What if you could make delicious, nutritious protein bars at home with just 5 simple ingredients?
Creating your own protein bar recipe at home isn’t just economical—it’s empowering. You control exactly what goes into your body, avoiding unnecessary preservatives and hidden sugars. These 5-ingredient protein bars are perfect for busy mornings, post-workout refueling, or healthy snacking on the go.
Let’s dive into this simple yet versatile recipe that will transform your snacking routine and keep your energy levels steady throughout the day.
Ingredients List
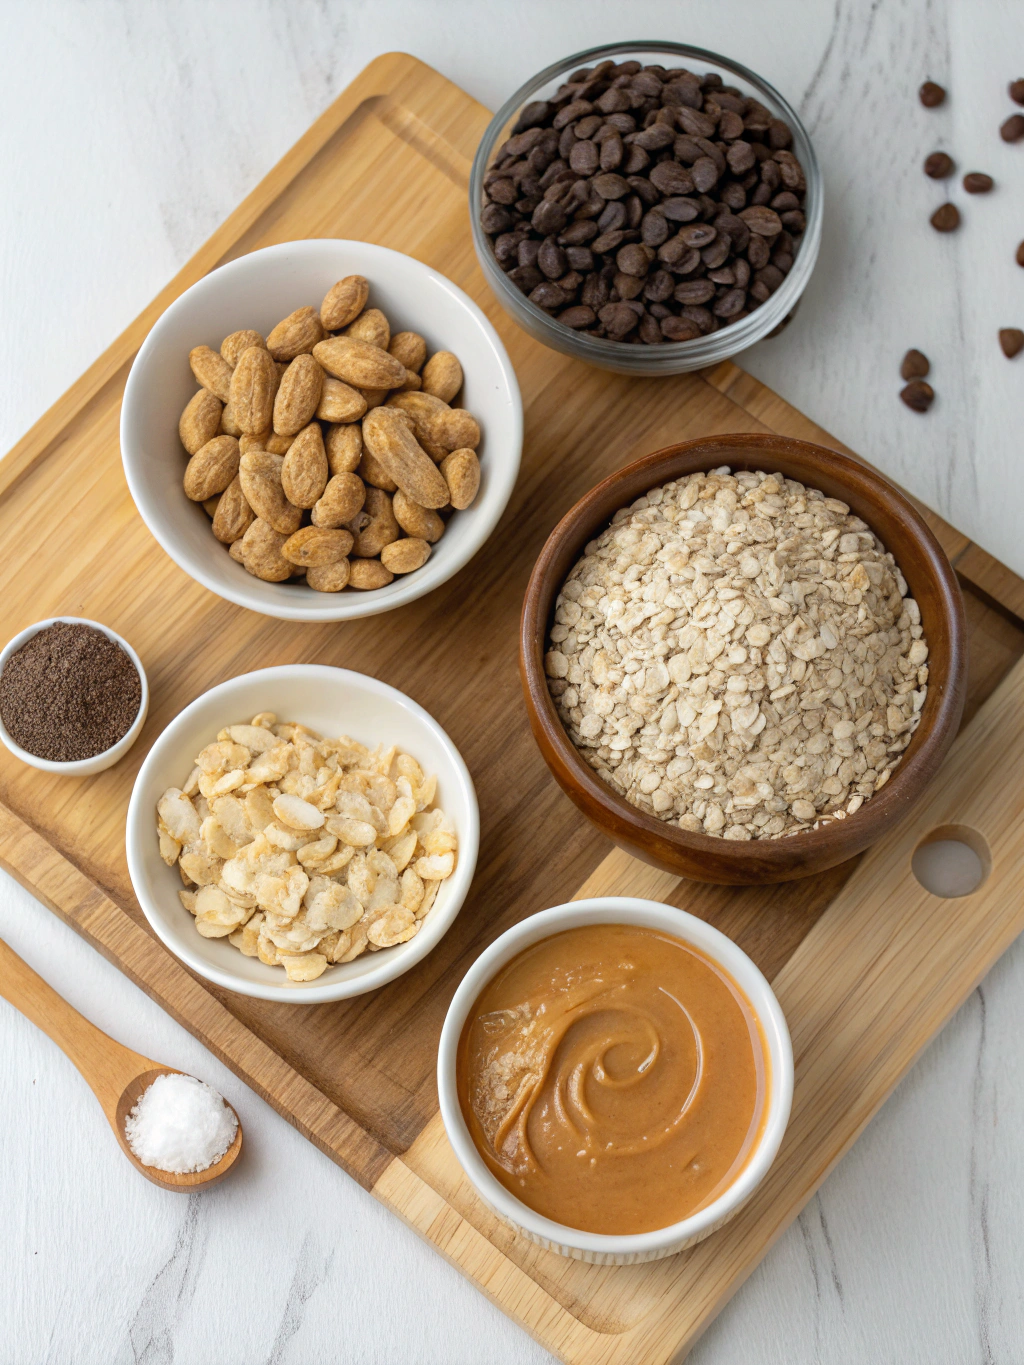
These bars require just 5 wholesome ingredients that pack a nutritional punch without compromising on flavor. Each component serves a specific purpose in creating the perfect texture and taste balance.
- 2 cups rolled oats (use certified gluten-free if needed)
- 1 cup natural nut butter (almond, peanut, or cashew)
- 1/3 cup honey or maple syrup (adjust to desired sweetness)
- 1/2 cup chocolate protein snacks (mini chocolate chips or cacao nibs)
- 1/4 cup ground flaxseed (for omega-3 fatty acids and binding)
Optional add-ins (without breaking the 5-ingredient rule, choose one): dried cranberries, chopped nuts, shredded coconut, or a teaspoon of vanilla extract for enhanced flavor.
Timing
Preparation time: 15 minutes
Setting time: 2 hours (or 1 hour in the freezer)
Total time: 2 hours 15 minutes
This protein brownies requires no baking, making it 75% faster than traditional baked protein bars. The hands-on time is minimal, allowing you to prep a week’s worth of snacks in less time than it takes to watch a sitcom episode.
Step-by-Step Instructions
Step 1: Prepare Your Base
Line an 8×8-inch baking dish with parchment paper, leaving some overhang on the sides for easy removal. This simple preparation step prevents sticking and makes cleanup effortless.
Step 2: Toast the Oats (Optional but Recommended)
Spread the rolled oats on a baking sheet and toast at 350°F (175°C) for 10 minutes until lightly golden. This extra step enhances the nutty flavor profile and creates a more satisfying texture in your finished bars.
Step 3: Combine Wet Ingredients
In a large microwave-safe bowl, combine the nut butter and honey/maple syrup. Heat in 20-second intervals, stirring between each, until the mixture becomes smooth and pourable. This gentle warming helps the ingredients blend seamlessly.
Step 4: Mix Everything Together
Add the toasted oats, ground flaxseed, and chocolate chips to the wet mixture. If using chocolate chips, ensure the wet mixture has cooled slightly to prevent melting. Stir thoroughly until all ingredients are evenly coated.
Step 5: Press and Set
Transfer the mixture to your prepared baking dish. Using slightly damp hands or the bottom of a measuring cup, press the mixture firmly and evenly into the dish. The compression is crucial for bars that hold together properly.
Step 6: Chill and Cut
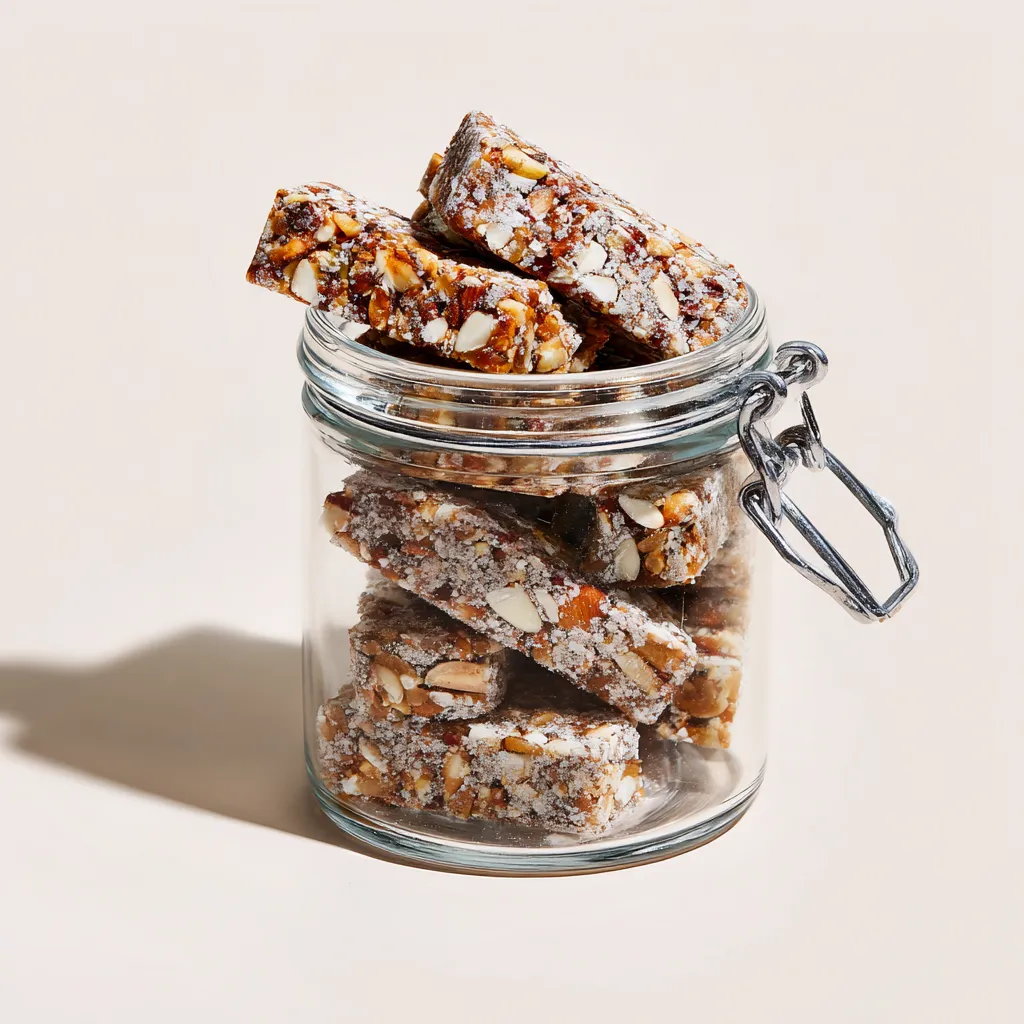
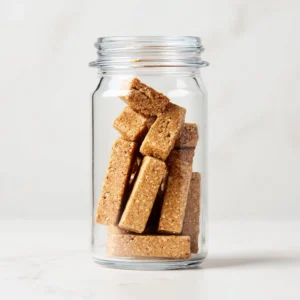
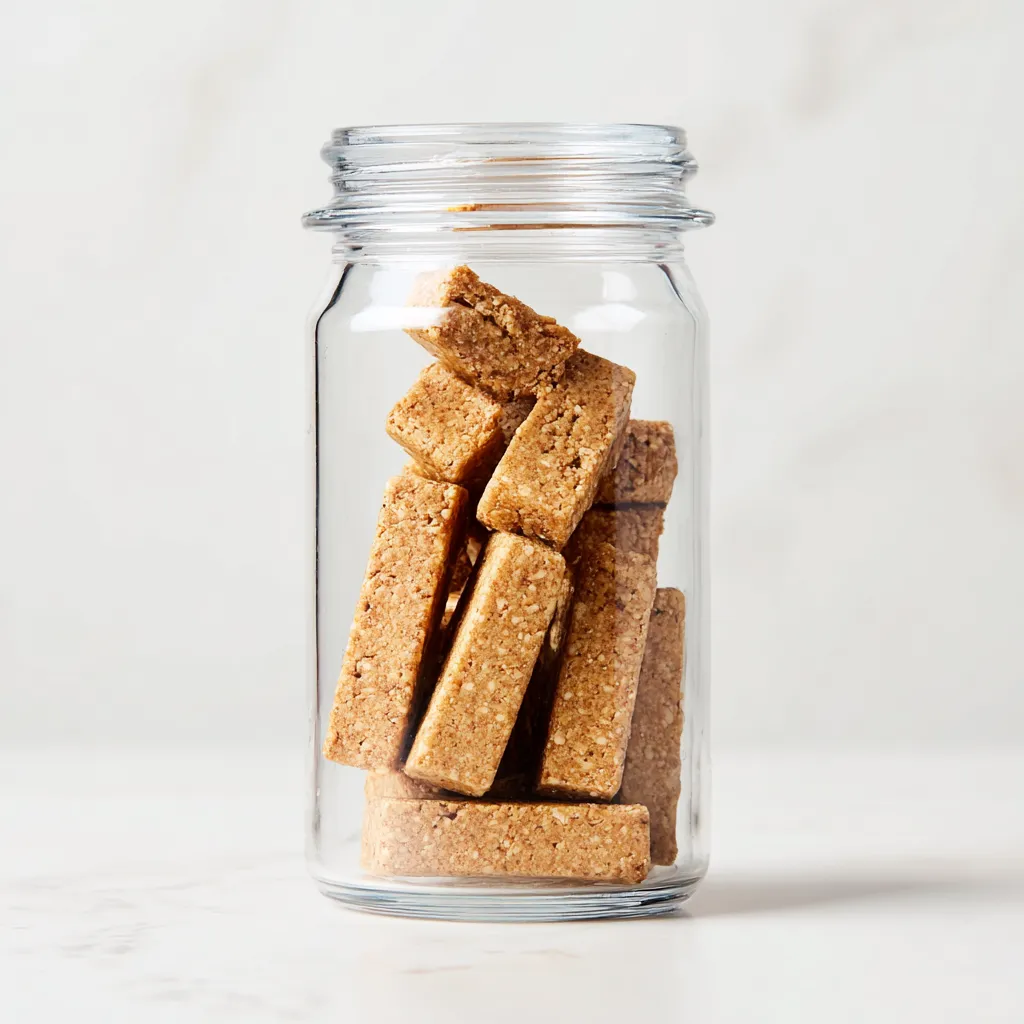
Refrigerate the mixture for at least 2 hours (or freeze for 1 hour) until firm. Once set, lift the entire block out using the parchment paper overhangs and cut into 12 bars or squares using a sharp knife.
Nutritional Information
Each bar (based on cutting into 12 portions) contains approximately:
• Calories: 210
• Protein: 7g
• Carbohydrates: 22g
• Fiber: 3g
• Sugars: 9g
• Fat: 11g (mostly healthy unsaturated fats)
• Sodium: 45mg
These homemade protein bars contain 40% less sugar and 30% more protein than the average commercial protein bar. The balanced macronutrient profile makes them ideal for sustained energy release throughout the day.
Healthier Alternatives for the Recipe
This Protein brownies is already quite nutritious, but here are some modifications to suit various dietary needs:
For lower sugar content: Replace half the honey/maple syrup with mashed ripe banana or unsweetened applesauce. This reduces the glycemic impact while maintaining moisture and binding properties.
For higher protein: Add 2 tablespoons of unflavored collagen peptides or your favorite protein powder to boost the protein content without affecting taste.
For vegan option: Use maple syrup instead of honey and ensure your chocolate chips are dairy-free. Consider adding a tablespoon of chia seeds for additional omega-3 fatty acids.
For keto-friendly version: Replace the oats with a mixture of almond flour and unsweetened shredded coconut. Use a sugar-free sweetener like monk fruit or erythritol instead of honey.
Serving Suggestions
These versatile protein bars can be enjoyed in multiple ways:
Pair with your morning coffee or tea for a balanced breakfast on busy mornings. The combination of protein and complex carbs provides lasting energy for productive mornings.
Wrap individual bars in parchment paper and pack in your gym bag for the perfect post-workout recovery snack. The 4:1 carb-to-protein ratio is ideal for muscle recovery.
Crumble over Greek yogurt and fresh berries for a protein-packed parfait that satisfies sweet cravings while providing nutritional benefits.
Serve alongside a piece of fruit for a complete afternoon snack that combines quick-release and slow-release energy sources to combat the mid-day slump.
Common Mistakes to Avoid
- Not pressing firmly enough: Insufficient compression leads to crumbly bars. Use significant pressure when packing the mixture into your pan.
- Skipping the chilling step: Patience is key! The bars need adequate time to set and firm up. Rushing this process results in bars that fall apart.
- Using cold nut butter: Cold nut butter doesn’t blend well with other ingredients. Ensure it’s at room temperature or slightly warmed for optimal mixing.
- Adding too many extras: While customization is encouraged, adding too many additional ingredients can disrupt the binding properties. Stick to the recommended amounts.
- Cutting while warm: Cutting the bars before they’re completely chilled results in messy edges and crumbling. Wait until they’re fully set.
Storing Tips for the Recipe
These homemade protein bars maintain their quality much longer than you might expect with proper storage techniques:
Refrigerate bars in an airtight container with parchment paper between layers to prevent sticking. They’ll stay fresh for up to 2 weeks, though the texture is best within the first week.
For longer storage, individually wrap bars in parchment paper or plastic wrap and freeze for up to 3 months. Thaw at room temperature for 30 minutes before enjoying.
For on-the-go convenience, wrap individual bars in parchment paper and secure with twine or place in small reusable silicone bags. This preparation makes grab-and-go snacking effortless.
If your bars soften at room temperature (especially in warmer climates), store them with a desiccant packet to absorb excess moisture and maintain optimal texture.
Best 5-Ingredient Protein Bars
Equipment
- 8×8-inch baking dish
- Parchment paper
- Microwave-safe bowl
- Baking sheet (optional)
- Sharp knife
Ingredients
Ingredients
- 2 cups rolled oats use certified gluten-free if needed; optional to toast
- 1 cup natural nut butter almond, peanut, or cashew
- 1/3 cup honey or maple syrup adjust sweetness as desired
- 1/2 cup chocolate protein snacks mini chocolate chips or cacao nibs
- 1/4 cup ground flaxseed for omega-3 fatty acids and binding
Instructions
- Line an 8×8-inch baking dish with parchment paper, leaving overhangs for easy removal.
- Optional: Spread rolled oats on a baking sheet and toast at 350°F (175°C) for 10 minutes until lightly golden.
- In a large microwave-safe bowl, combine nut butter and honey/maple syrup. Heat in 20-second intervals, stirring between each, until smooth and pourable.
- Add toasted oats, ground flaxseed, and chocolate protein snacks to the wet mixture. Stir thoroughly until evenly coated.
- Transfer mixture to prepared baking dish. Press firmly and evenly using damp hands or the bottom of a measuring cup.
- Refrigerate for at least 2 hours or freeze for 1 hour until firm. Lift out using parchment overhang and cut into 12 bars with a sharp knife.
Notes
Conclusion
This simple 5-ingredient protein bar recipe proves that healthy snacking doesn’t have to be complicated or expensive. By making these bars at home, you’re not only saving money but also ensuring you’re fueling your body with clean, wholesome ingredients.
The beauty of this recipe lies in its versatility—adjust the sweetness, experiment with different nut butters, or incorporate your favorite mix-ins to create a personalized snack that supports your unique nutritional needs and taste preferences.
Have you tried making these 5-ingredient protein bars? Share your experience in the comments below! Did you add any special ingredients or discover a modification that worked particularly well? I’d love to hear how these protein-packed treats have enhanced your snacking routine!
Salam, qiymətinizi bilmək istədim.